

Table of contents
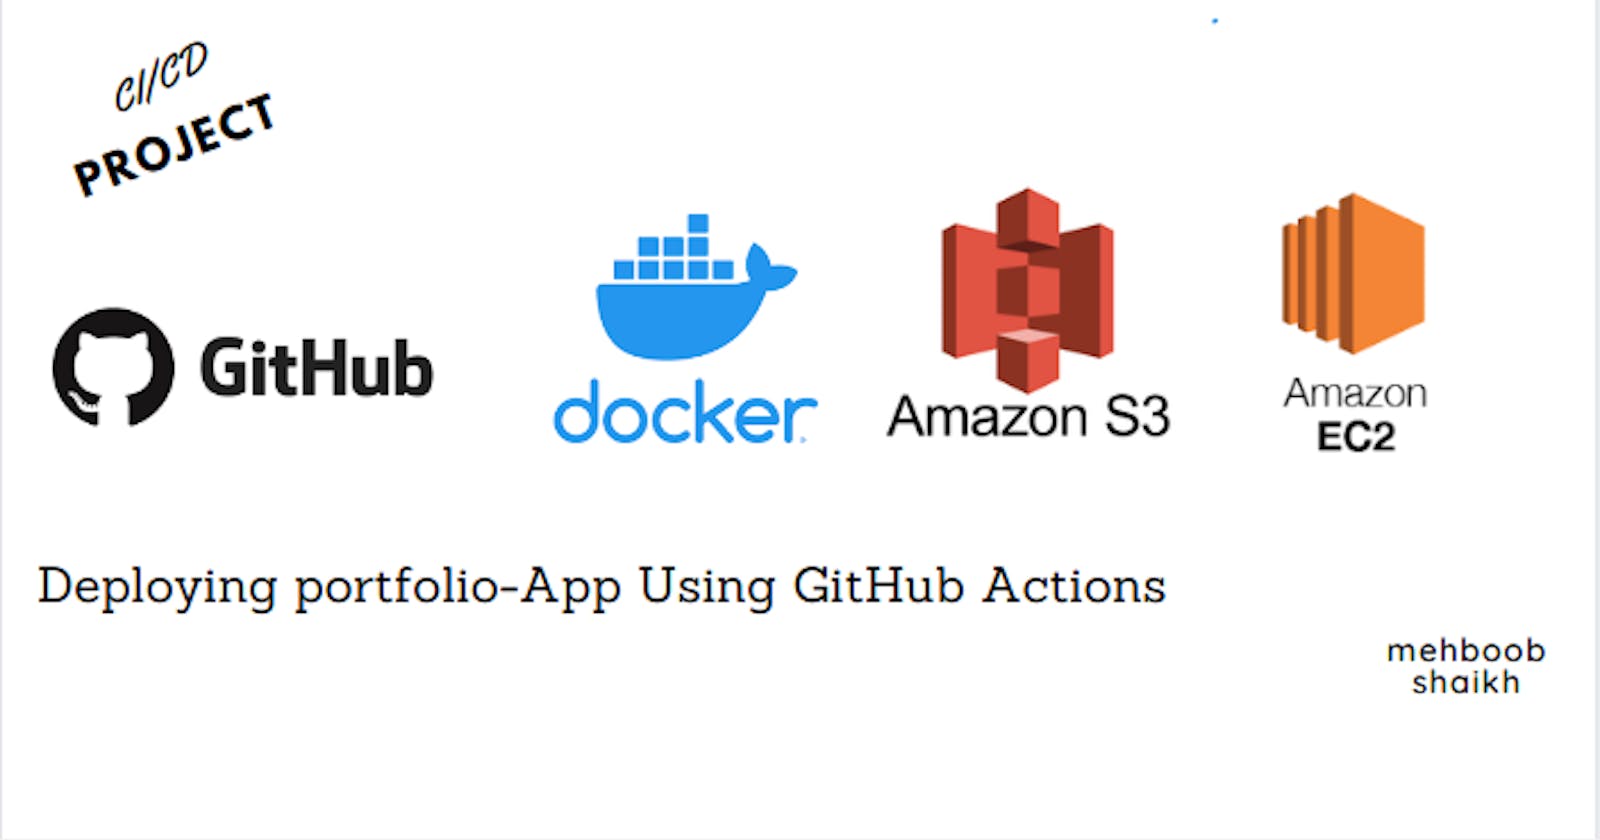
- Launching my initial project in which we plan to employ GitHub Actions for (CI/CD), along with utilizing an S3 bucket for storage and Docker for constructing images.
- Pre-requisites
- Launch an AWS EC2 instance:
- Clone the repository from github
- Install Docker in your ec2 instance using bash script .
- Create s3 bucket named as (dep-gitaction-s3-bucket)
- Create IAM user to give access permissions.
- Add the AWS access key ID and secret access key as secrets or variables in GITHUB.
- Now create .github/workflows /main.yml
Launching my initial project in which we plan to employ GitHub Actions for (CI/CD), along with utilizing an S3 bucket for storage and Docker for constructing images.
Pre-requisites
GitHub repository
Application code
Dockerhub login
Dockerfile
AWS Account login
Launch an AWS EC2 instance:
Here are the simplified steps to launch an AWS EC2 instance:
Log in to the AWS Management Console.
Go to the EC2 service.
Click "Launch Instance".
Choose an Amazon Machine Image (AMI)-(ubuntu Latest).
Choose an instance type (t2.micro)
Configure instance details.
Add storage options (Default storage)
Configure security groups allow (ssh and HTTP traffic).
Review and launch the instance.
Create or select a key pair for secure access.
Launch the instance and note its status.
Access and connect to the instance using SSH.

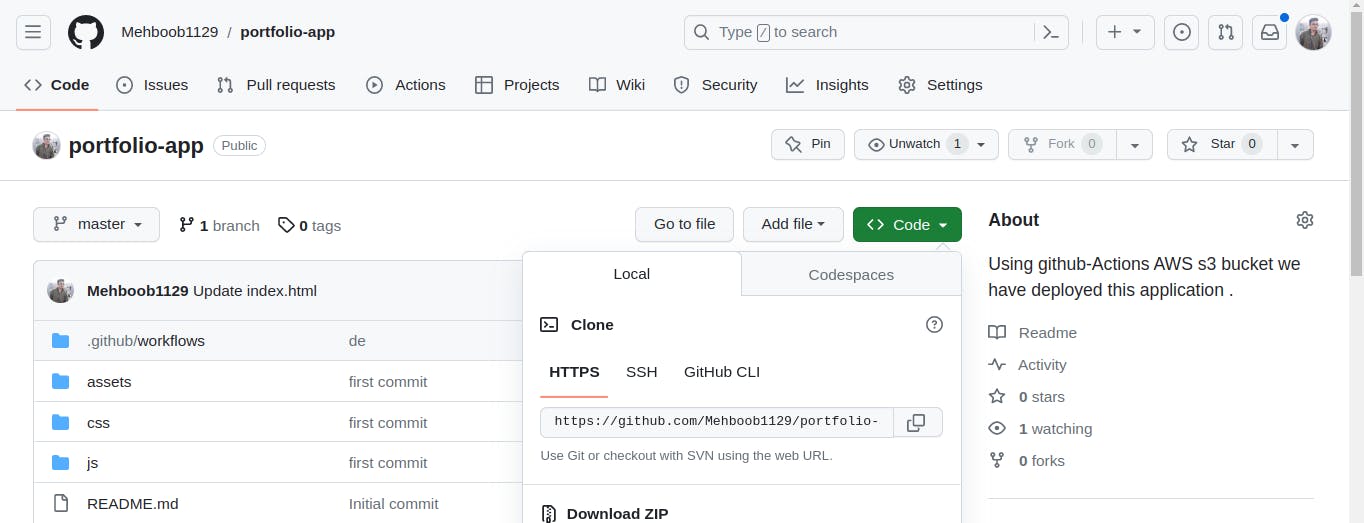
Clone the repository from github
Open your github account.
Navigate to the directory where you want to clone the repository.
Copy the URL of the GitHub repository you want to clone.
In the terminal or command prompt, enter the following command:
https://github.com/Mehboob1129/portfolio-app.gitReplace
[my repository URL]with the URL you copied. Press Enter.Git will start cloning the repository, and the files will be downloaded to your local directory.
Once the cloning process is complete, you will have a local copy of the repository on your computer.
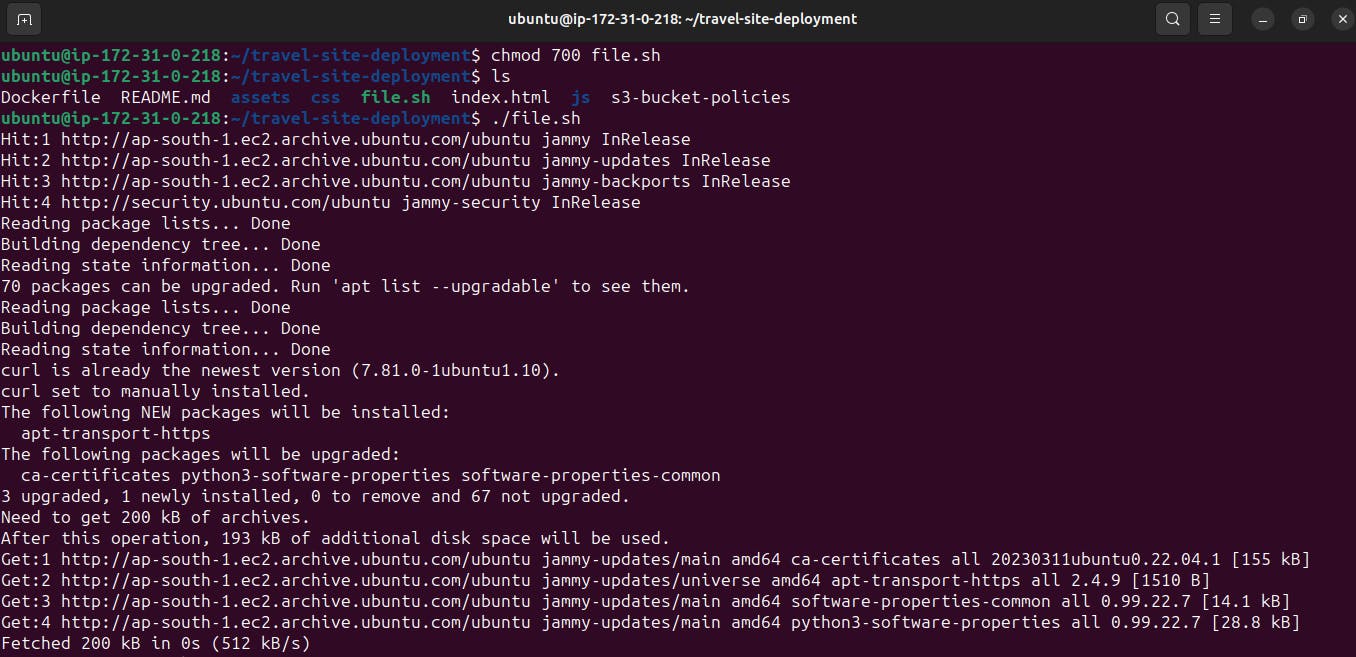
Install Docker in your ec2 instance using bash script .
1.Create file.sh (bash file)
  #!/bin/bash

  # Update package index
  sudo apt update

  # Install dependencies
  sudo apt-get install -y apt-transport-https ca-certificates curl software-properties-common

  # Add Docker's official GPG key
  curl -fsSL https://download.docker.com/linux/ubuntu/gpg | sudo gpg --dearmor -o /usr/share/keyrings/docker-archive-keyring.gpg

  # Add Docker repository
  echo "deb [arch=amd64 signed-by=/usr/share/keyrings/docker-archive-keyring.gpg] https://download.docker.com/linux/ubuntu $(lsb_release -cs) stable" | \
    sudo tee /etc/apt/sources.list.d/docker.list > /dev/null

  # Update package index again
  sudo apt update

  # Install Docker
  sudo apt-get install -y docker-ce docker-ce-cli containerd.io

  # Add current user to the docker group
  sudo usermod -aG docker $USER

  # Enable Docker to start on boot
  sudo systemctl enable docker

  # Start Docker service
  sudo systemctl start docker
2.Save the above script in a file.sh
3.Make the script executable by running command
chmod 700 file.sh4.
systemctl status dockeruse this command to see running status of docker
Create s3 bucket named as (dep-gitaction-s3-bucket)
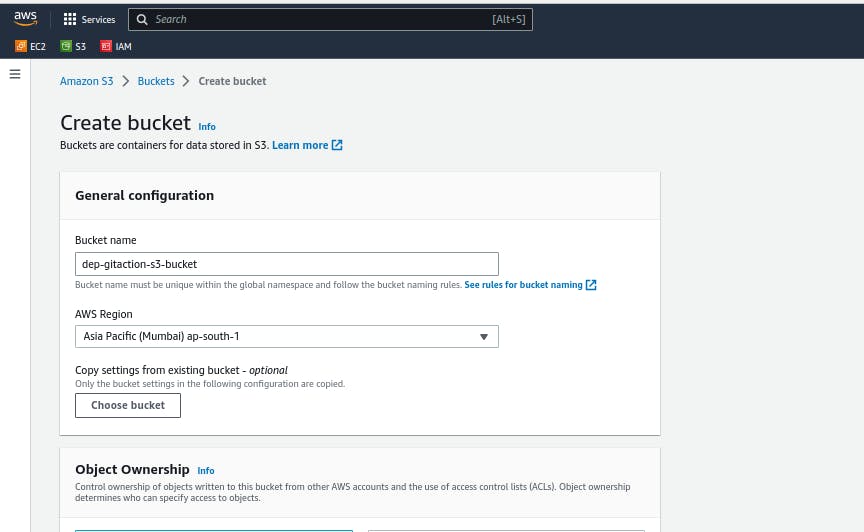
1.Open the AWS Management Console and sign in to your AWS account.
2.Search for s3 then click on create bucket.
3.wright buckename and proced.
Add bucket policies.
1. Go to bucket permissions.
2. Click on "Edit" Bucket policies.
     {
         "version": "2012-10-17",
         "Statement": [
             {
                 "Sid": "PublicReadGetObject",
                 "Effect": "Allow",
                 "Principal": "*",
                 "Action": "s3:GetObject",
                 "Resource": "arn:aws:s3:::dep-gitaction-s3-bucket/*"
             }
         ]
     }
3. Add this to Bucket policies.

Create IAM user to give access permissions.

1. Sign in to the AWS Management Console and go to the IAM service.
2. Click "Users" and then "Add user."
3. Enter a username and choose access type (either programmatic or console access).
4. Set a password for console access, if applicable.
5. Specify permissions by adding the user to groups or attaching policies.
6. Review the user's information and permissions.
7. Optionally add tags.
8. Click "Create user."
9. Safely store the "Access key ID" and "Secret access key" for programmatic access, if applicable.

Add the AWS access key ID and secret access key as secrets or variables in GITHUB.
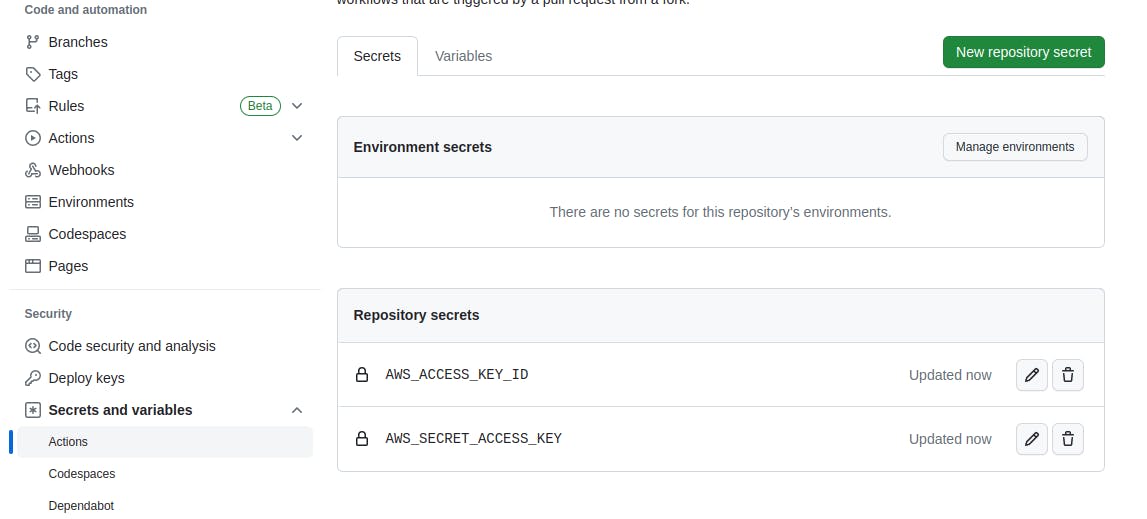
Go to your repository's "Settings" page.
Navigate to the "Secrets" or "Settings" > "Secrets" section.
Click "New repository secret" or "New secret".
Enter a name for the secret, like
AWS_ACCESS_KEY_ID, and add the corresponding value.Click "Add secret" or "Create secret" to save.
Repeat for the secret access key, using a name like
AWS_SECRET_ACCESS_KEY.Ensure your workflows or actions reference these secret names (
AWS_ACCESS_KEY_IDandAWS_SECRET_ACCESS_KEY).
Now create .github/workflows /main.yml
     name: Portfolio Deployment

     on:
       push:
         branches:
         - master
     jobs:
       build-and-deploy:
         runs-on: ubuntu-latest
         steps:
         - name: Checkout
           uses: actions/checkout@v1

         - name: Configure AWS Credentials
           uses: aws-actions/configure-aws-credentials@v1
           with:
             aws-access-key-id: ${{ secrets.AWS_ACCESS_KEY_ID }}
             aws-secret-access-key: ${{ secrets.AWS_SECRET_ACCESS_KEY }}
             aws-region: us-east-1

         - name: Deploy static site to S3 bucket
           run: aws s3 sync . s3://dep-gitaction-s3-bucket --delete
Now go to github actions and click on build-and-deploy
All jobs mentioned in workflows will run one by one from top to bottom
Now we have Automated the code so if we make some changes in index.html file changes will be reflected in s3 bucket .


Successfully Done Automation ...

Thank you for reading this article on DevOps and #90daysofDevOps! I genuinely appreciate your time and hope you found the information helpful and informative.
I welcome any questions or suggestions you may have for improving the content. Your feedback is highly valuable to me, and I encourage you to reach out.
Thank you ,